Effortless CloudPanel Installation on Debian 12: A Step-by-Step Guide
Supercharge your Debian 12 server with CloudPanel, a powerful and free control panel that simplifies web hosting management. This guide provides a step-by-step walkthrough for a seamless CloudPanel installation, empowering you to effortlessly control websites, databases, and more.
Installing CloudPanel on Debian 12: A Comprehensive Guide
CloudPanel is a modern, open-source control panel designed to simplify server management. It offers a user-friendly interface for tasks like managing websites, databases, email accounts, and system resources. This guide will walk you through installing CloudPanel on a fresh Debian 12 (Bookworm) server.
Prerequisites
Before you begin, ensure you have the following:
- A freshly installed Debian 12 server with SSH access.
- A domain name pointed to your server's IP address. This is crucial for Let's Encrypt SSL certificate generation.
- A root user or a user with sudo privileges.
Step 1: Update and Upgrade Your System
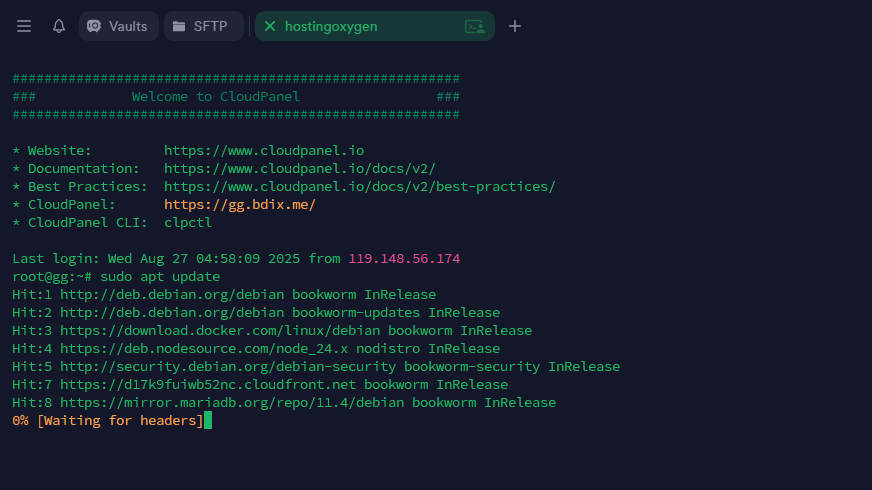
 It's essential to start with an updated system. Connect to your server via SSH and run the following commands:
sudo apt update
sudo apt upgrade -y
Step 2: Install Required Packages
CloudPanel relies on several packages. Install them using the following command:
sudo apt install -y curl wget gnupg2 apt-transport-https ca-certificates
Step 3: Add the CloudPanel Repository
Add the CloudPanel GPG key and repository to your system:
curl -sSL https://repo.cloudpanel.io/cloudpanel.key | sudo gpg --dearmor -o /usr/share/keyrings/cloudpanel.gpg
echo "deb [signed-by=/usr/share/keyrings/cloudpanel.gpg] https://repo.cloudpanel.io/debian/ bookworm main" | sudo tee /etc/apt/sources.list.d/cloudpanel.list
Step 4: Update APT and Install CloudPanel
After adding the repository, update APT again and then install CloudPanel:
sudo apt update
sudo apt install cloudpanel -y
Step 5: Initial Configuration
Once the installation completes, CloudPanel will guide you through the initial setup. This involves setting:
- Hostname: This should match your server's hostname. You can set it beforehand with
sudo hostnamectl set-hostname your.domain.com. - MySQL Root Password: Choose a strong password.
- MariaDB Root Password: Choose a strong, different password from the MySQL root password.
- CloudPanel Username: Create a username for accessing the CloudPanel interface.
- CloudPanel Password: Choose a strong password for your CloudPanel user.
- Email Address: Provide a valid email address. This is where notifications and Let's Encrypt certificates will be sent.
Step 6: Accessing CloudPanel
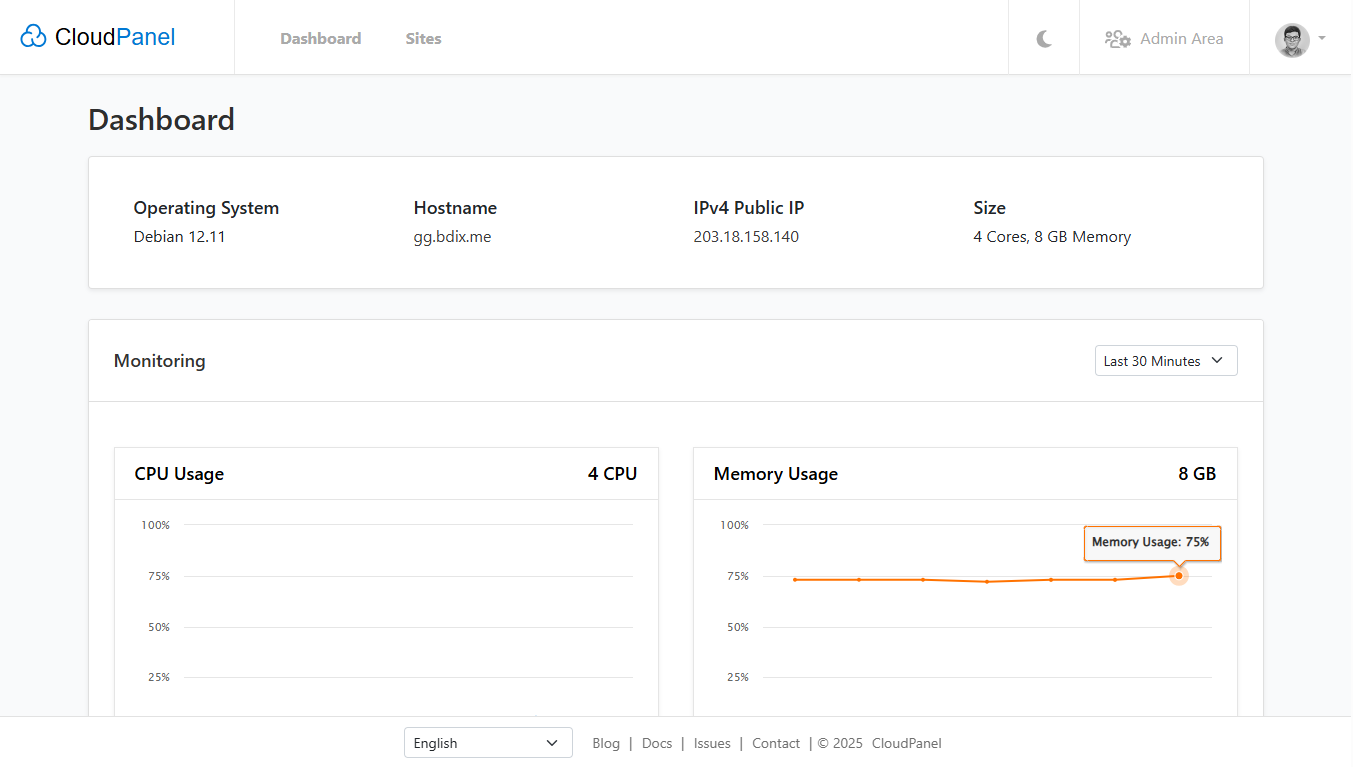
After the setup, you can access the CloudPanel interface by navigating to https://your.domain.com:8443 in your web browser. Use the credentials you created during the installation.
Step 7: Post-Installation Configuration (Optional)
- Firewall Configuration: If you're using a firewall like UFW, ensure ports 80, 443, and 8443 are open.
sudo ufw allow 80/tcp
sudo ufw allow 443/tcp
sudo ufw allow 8443/tcp
sudo ufw enable
-
Two-Factor Authentication (2FA): Enable 2FA for enhanced security from the CloudPanel settings after logging in.
-
Setting up your first website: CloudPanel makes it easy to create new websites. Follow the intuitive interface to add your domain, create databases, and configure PHP versions.
Troubleshooting
-
Connection Refused: Ensure that the CloudPanel service is running:
sudo systemctl status cloudpanel. If it's not, start it withsudo systemctl start cloudpanel. Check firewall rules if necessary. -
SSL Certificate Issues: If you encounter issues with the Let's Encrypt certificate, ensure your domain is correctly pointed to your server's IP address and that ports 80 and 443 are open.
-
Database Connection Issues: Double-check the database credentials when creating new websites or applications.
Actionable Tips for a Smoother Experience:
-
Snapshot your Server: Before installing CloudPanel, consider creating a snapshot of your server in case anything goes wrong. This allows you to revert to a previous state quickly.
-
Use a Dedicated Server or VPS: While CloudPanel can technically run on a VM, a dedicated server or VPS provides better performance and control.
-
Stay Updated: Regularly update your server and CloudPanel to benefit from the latest features and security patches. Use
sudo apt update && sudo apt upgrade -yfor system updates and check the CloudPanel interface for available updates. -
Explore the Documentation: The official CloudPanel documentation is a valuable resource. Consult it for detailed information and advanced configuration options.
Conclusion
Installing CloudPanel on Debian 12 is a straightforward process. With its intuitive interface and robust features, CloudPanel offers a great alternative for managing your servers efficiently. By following this guide and paying attention to the tips provided, you can have your server up and running with CloudPanel in no time. This allows you to focus on your web projects rather than complex server administration tasks. Remember to explore the documentation and stay updated to unlock the full potential of CloudPanel.